Add content with Saleor CMS
This guide will help you set up Saleor CMS, which manages your storefront's homepage, footer, and navigation.
Configure homepage
Saleor CMS relies on attributes to organize content and specific attributes are required for setting up the homepage. Refer to the screenshots below to identify the necessary attributes.
Create required attributes
Navigate to Saleor dashboard → Configuration → and select Model Attributes.
Create the following attributes:
Carousel products - display up to 8 products in a carousel on the homepage:
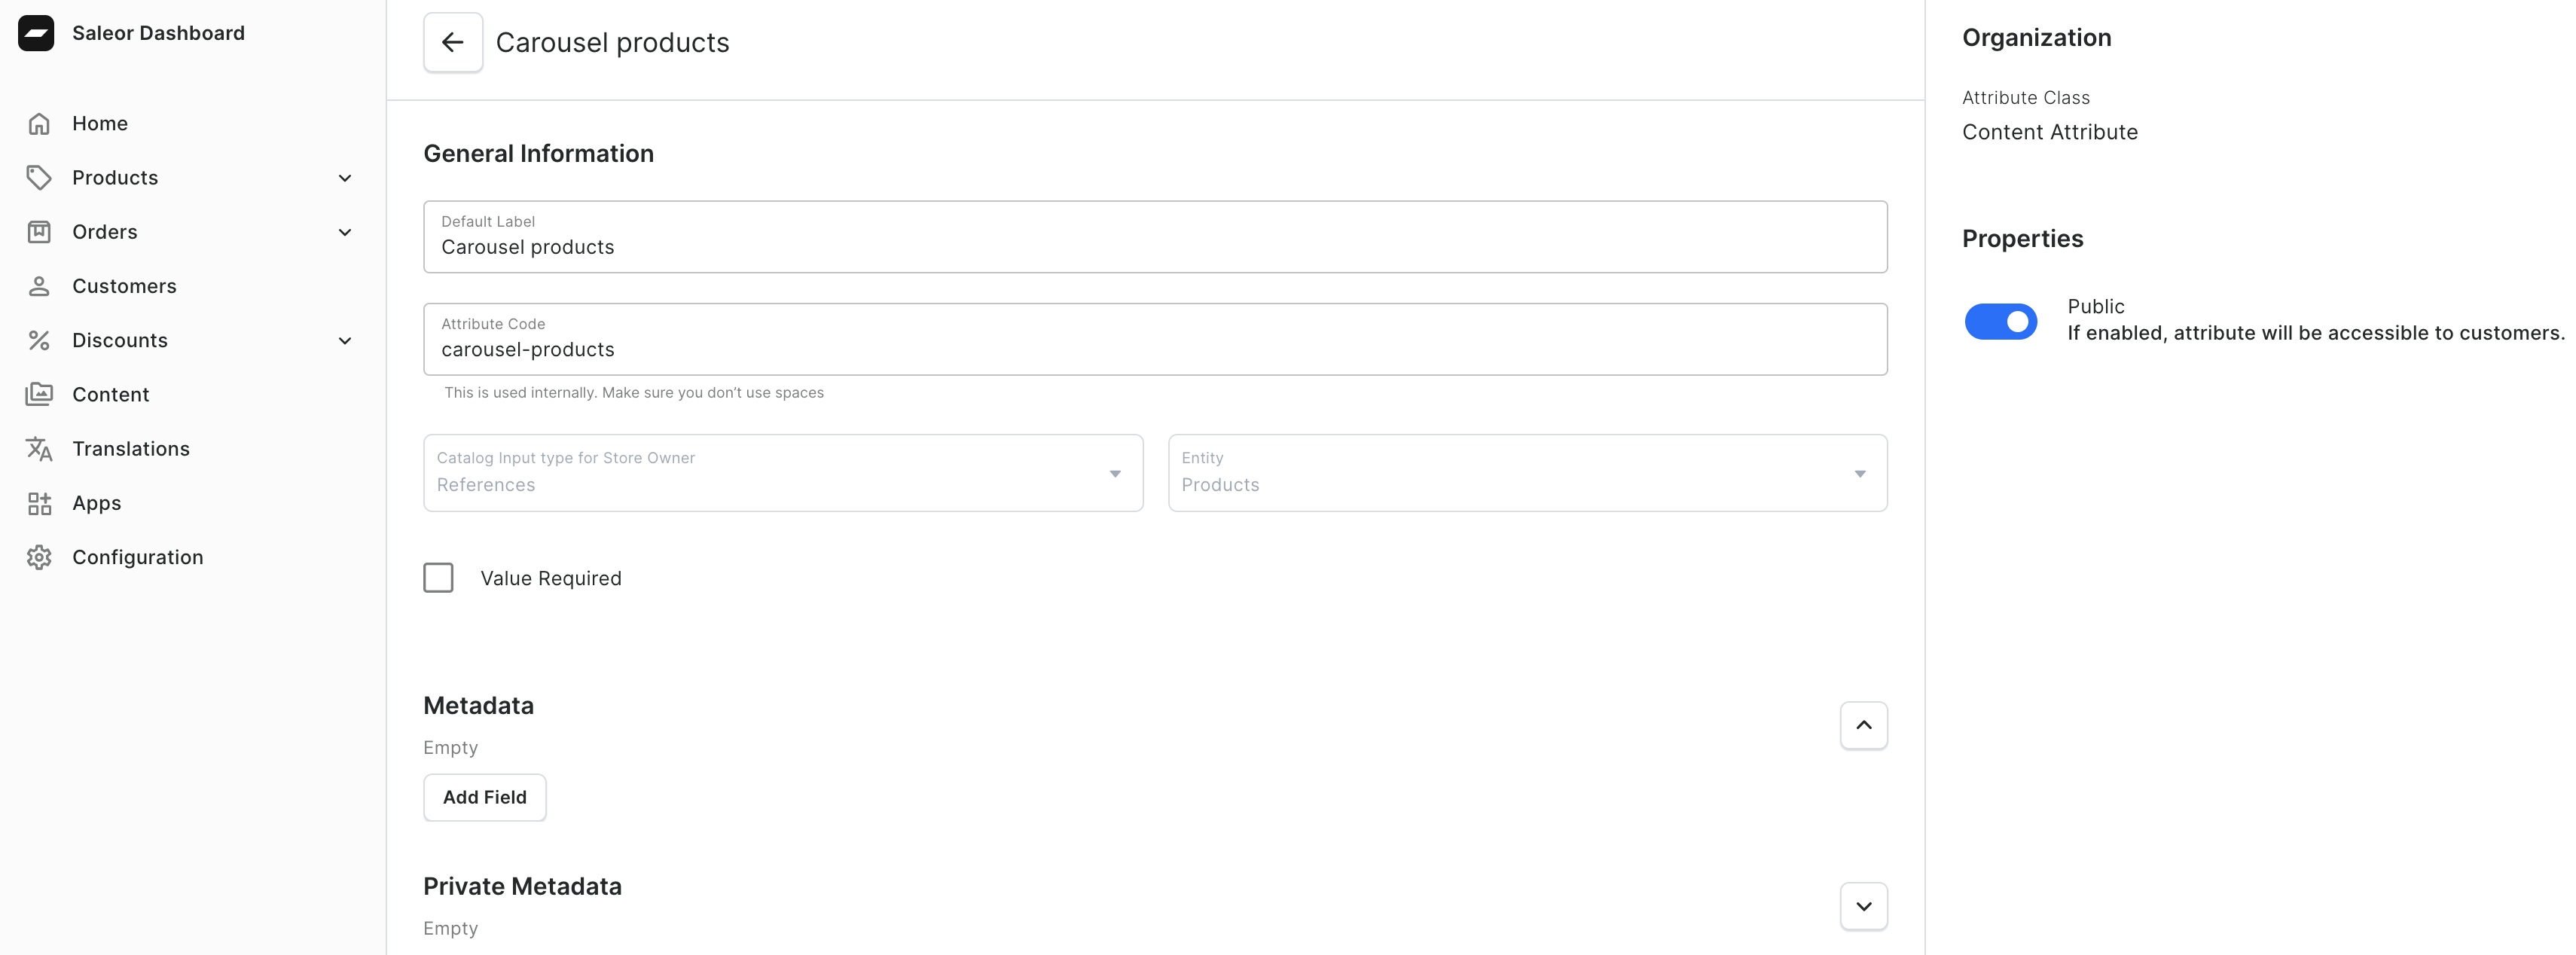
Homepage banner button text - display button text on banner section:
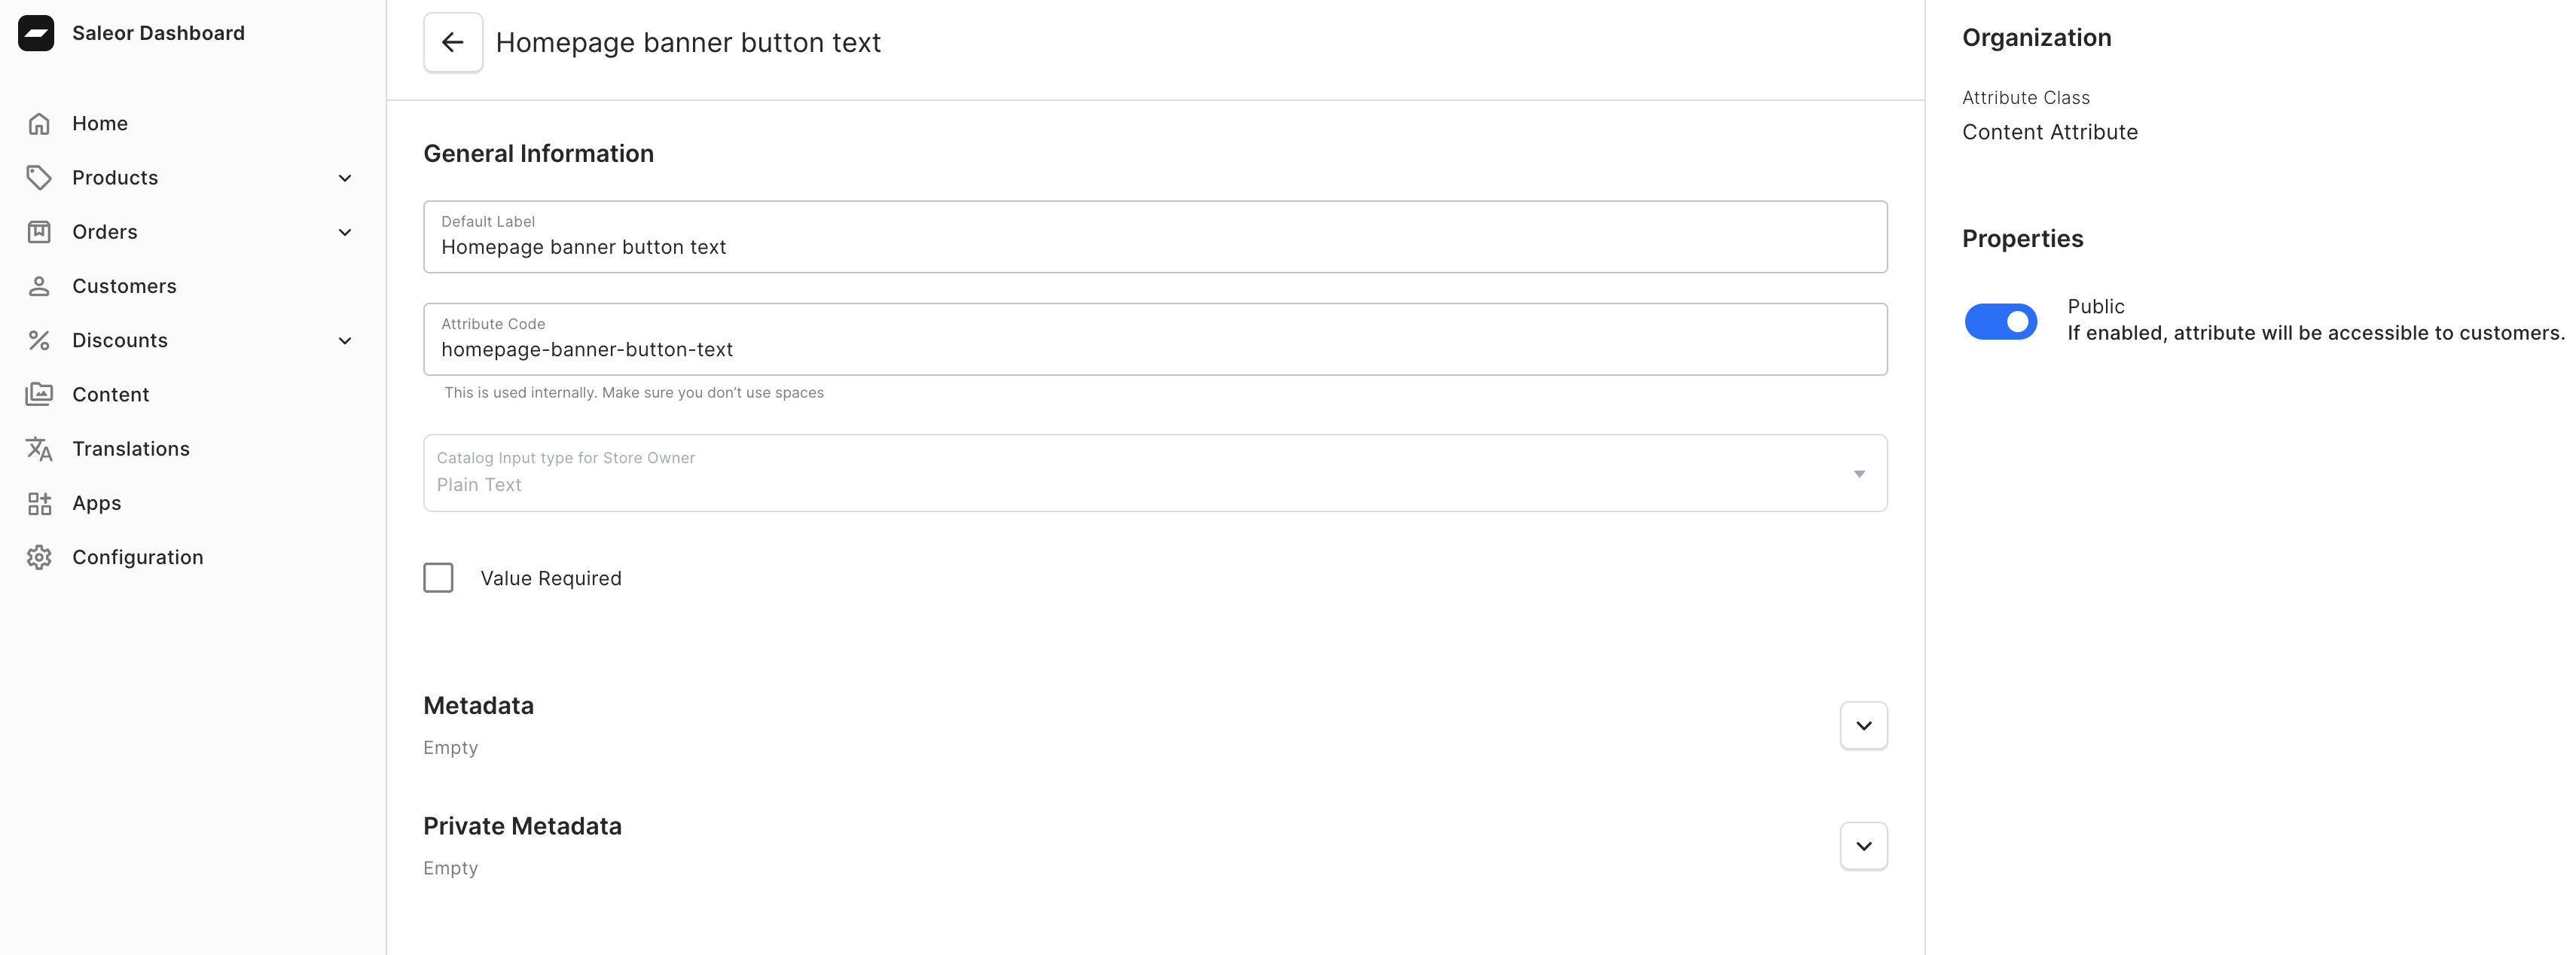
Homepage banner header - display header on banner section:
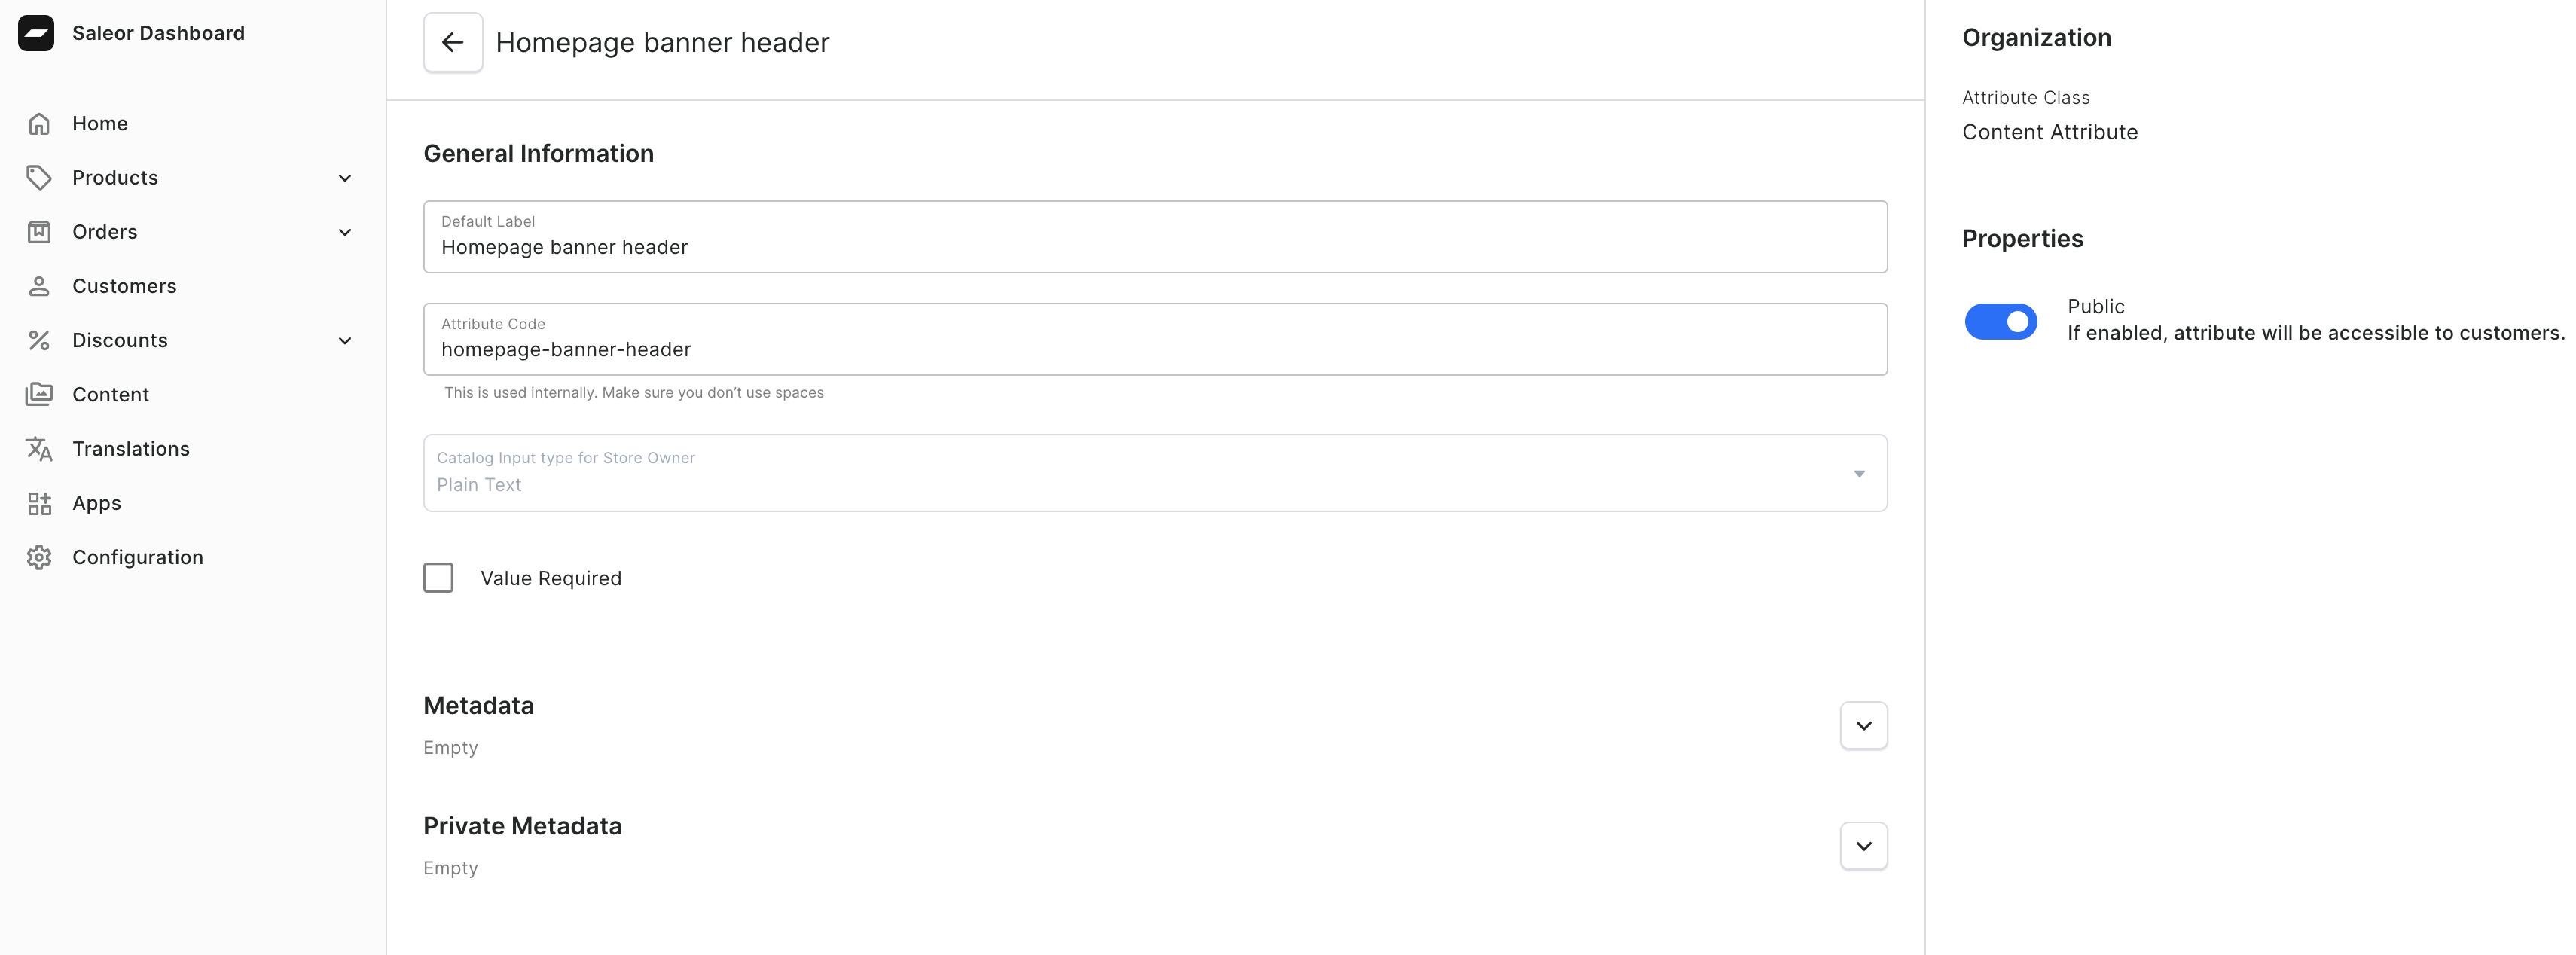
Homepage banner image - display the background image of the banner section:
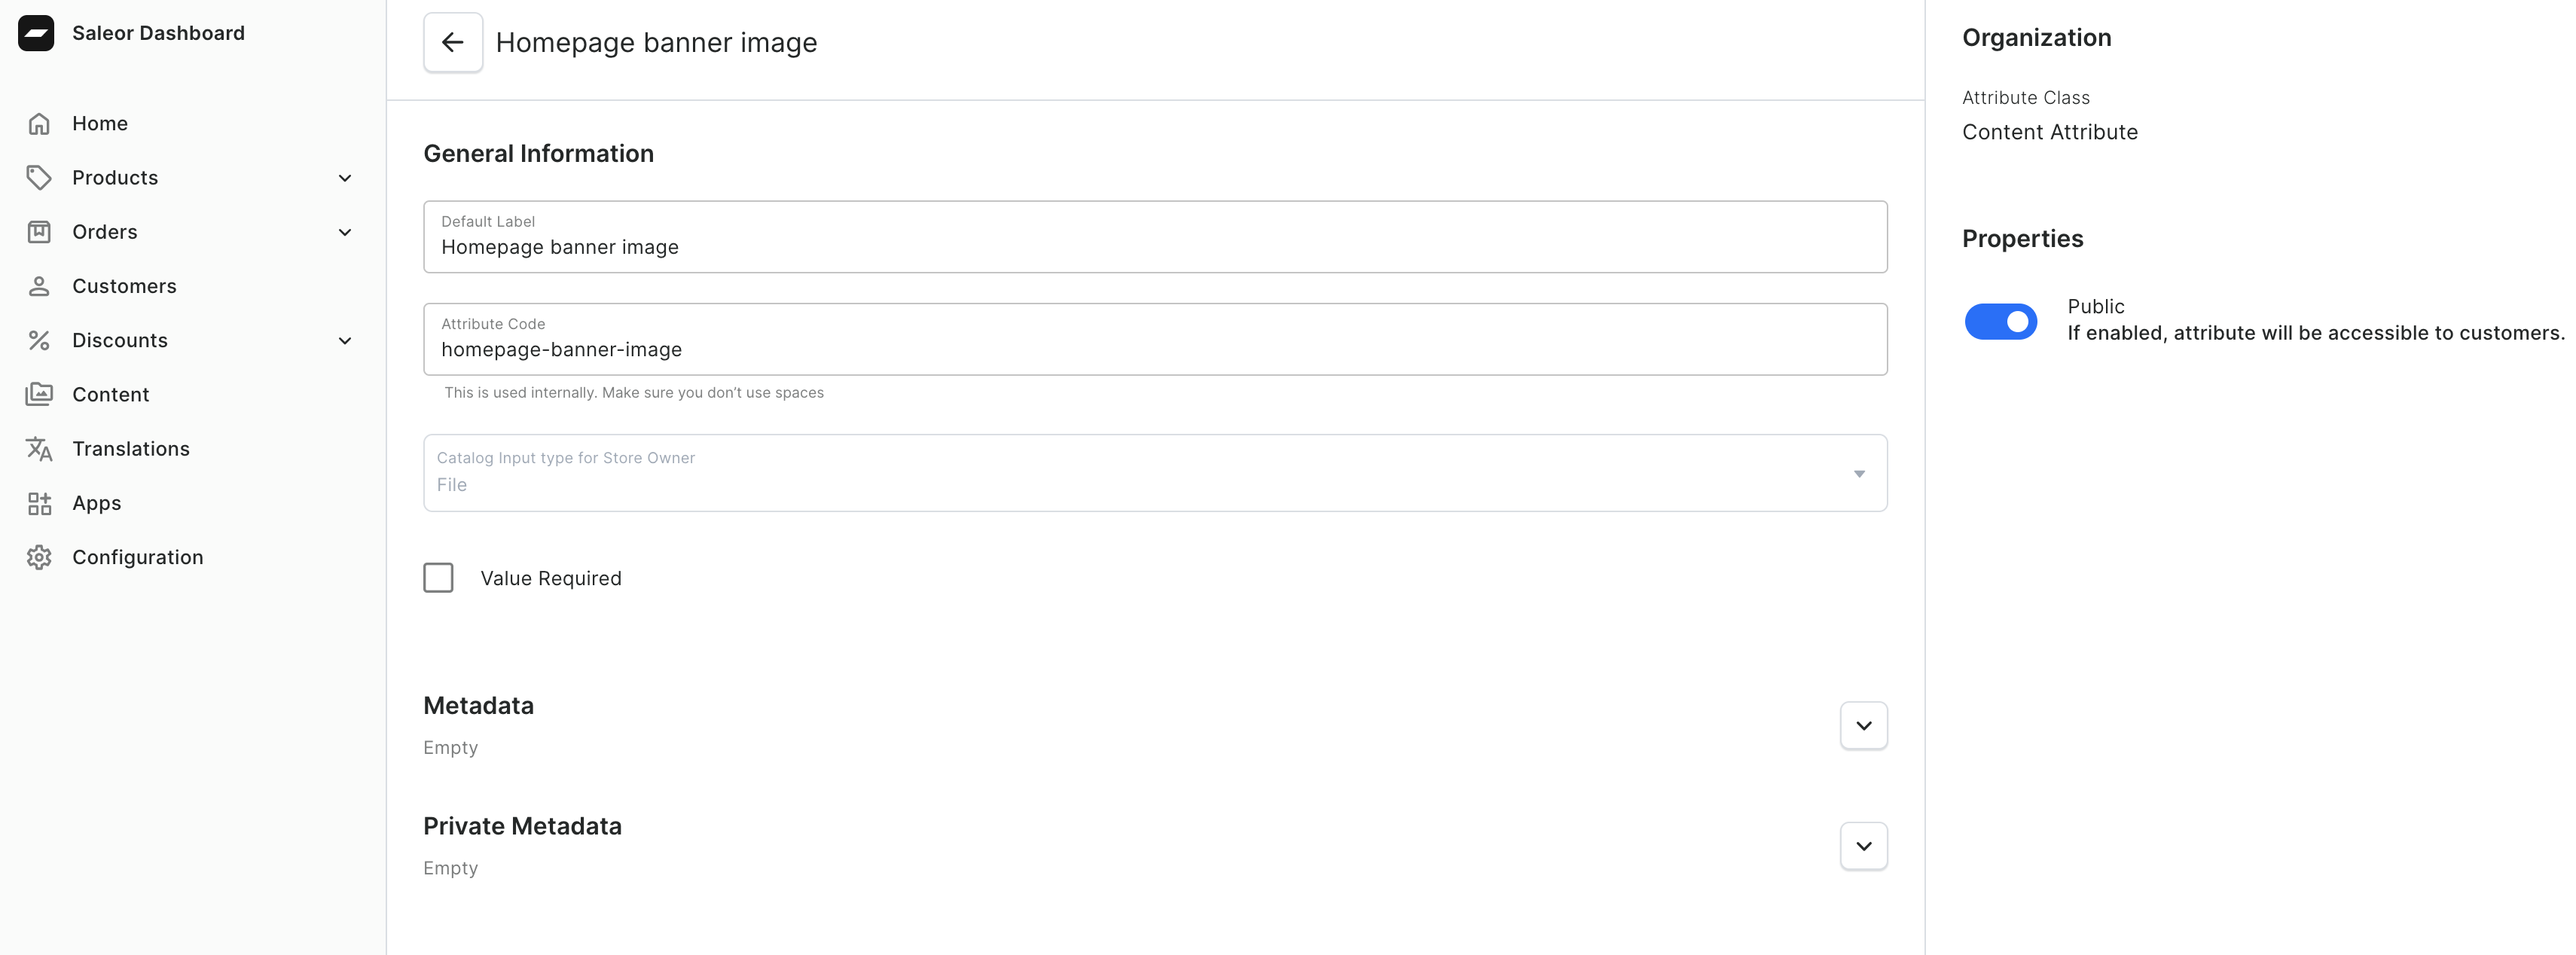
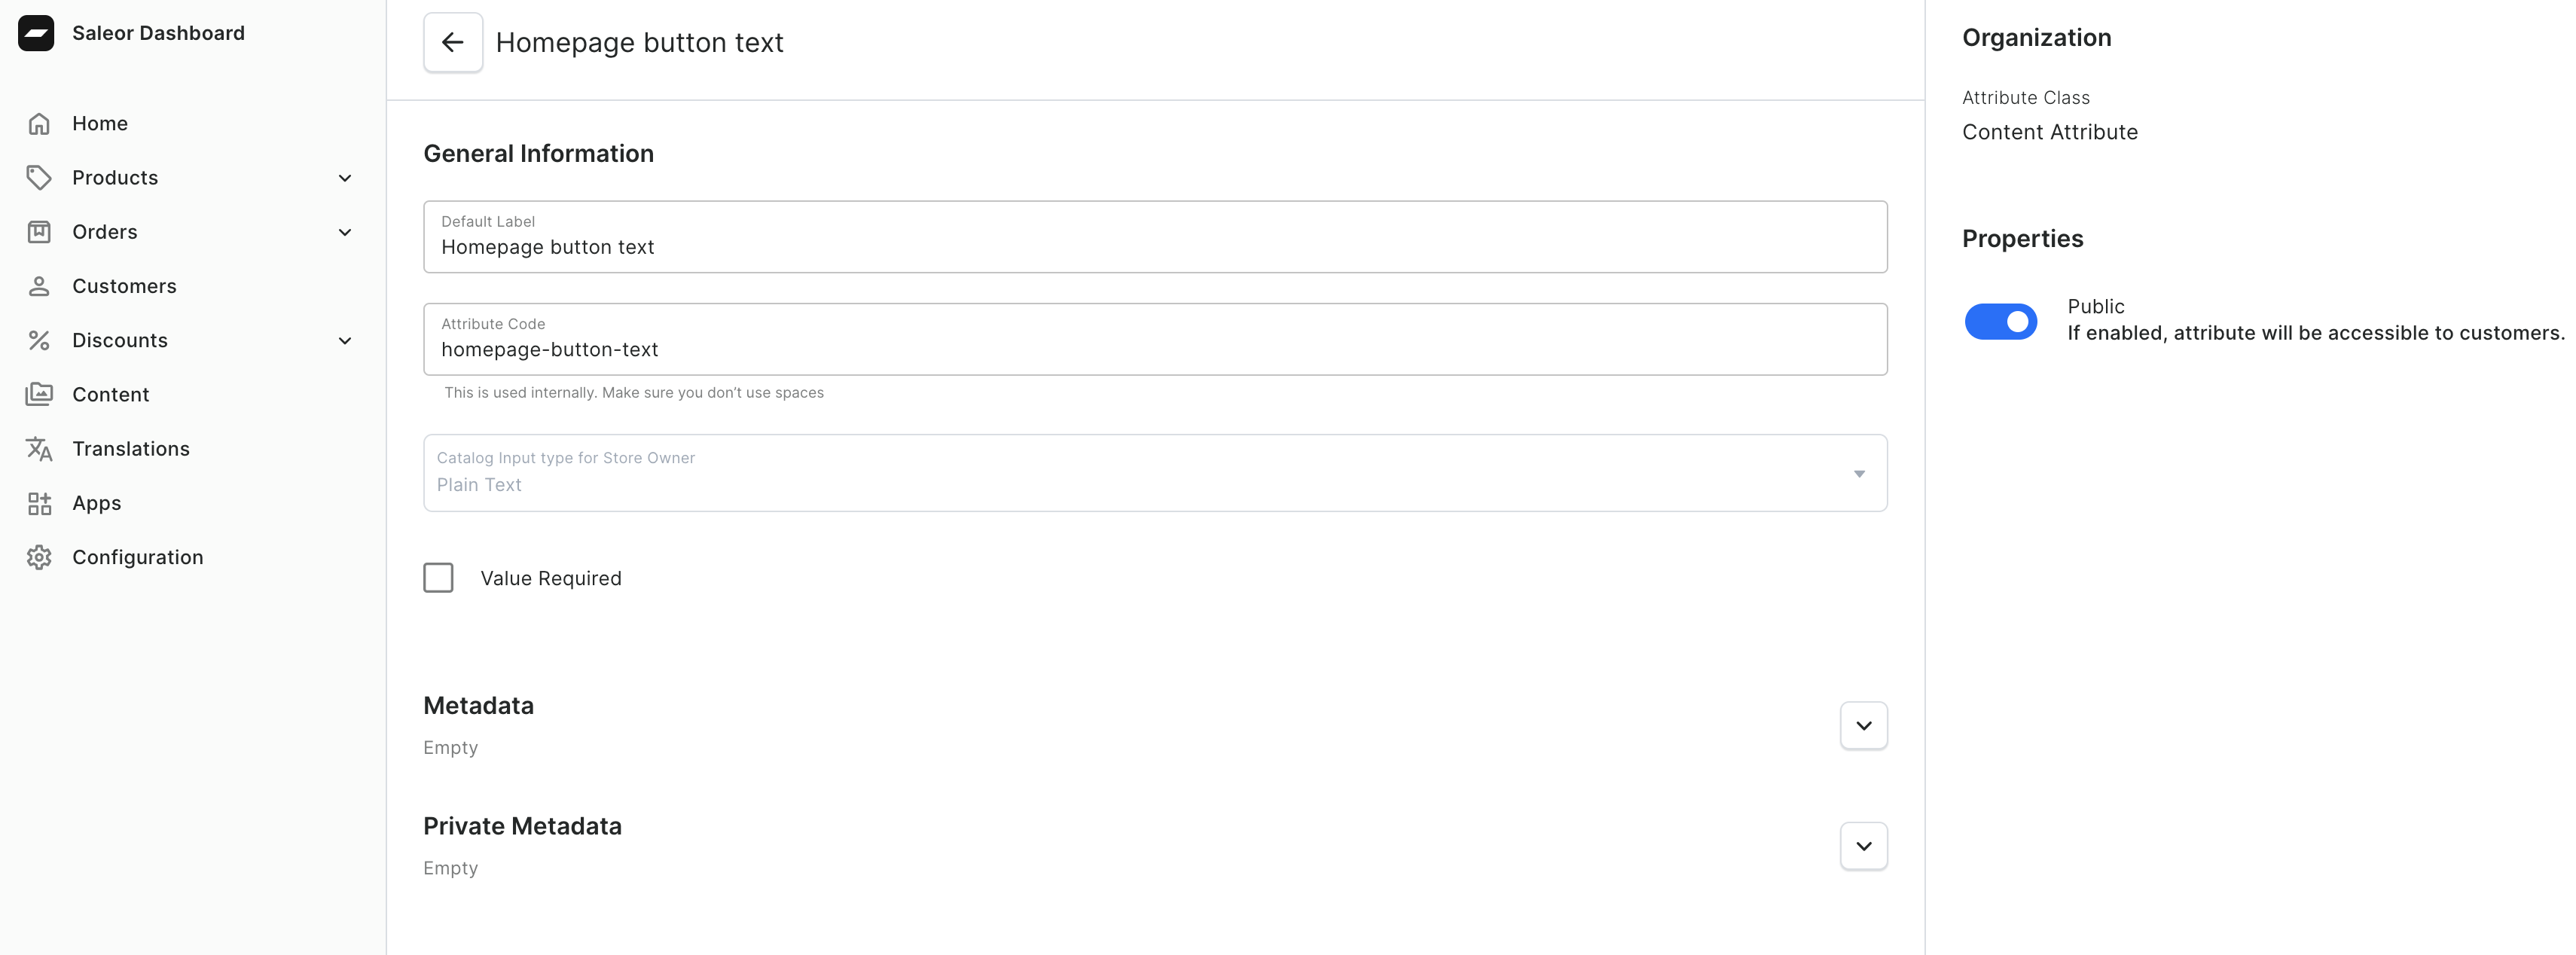
Homepage button text - display button text on page bottom:
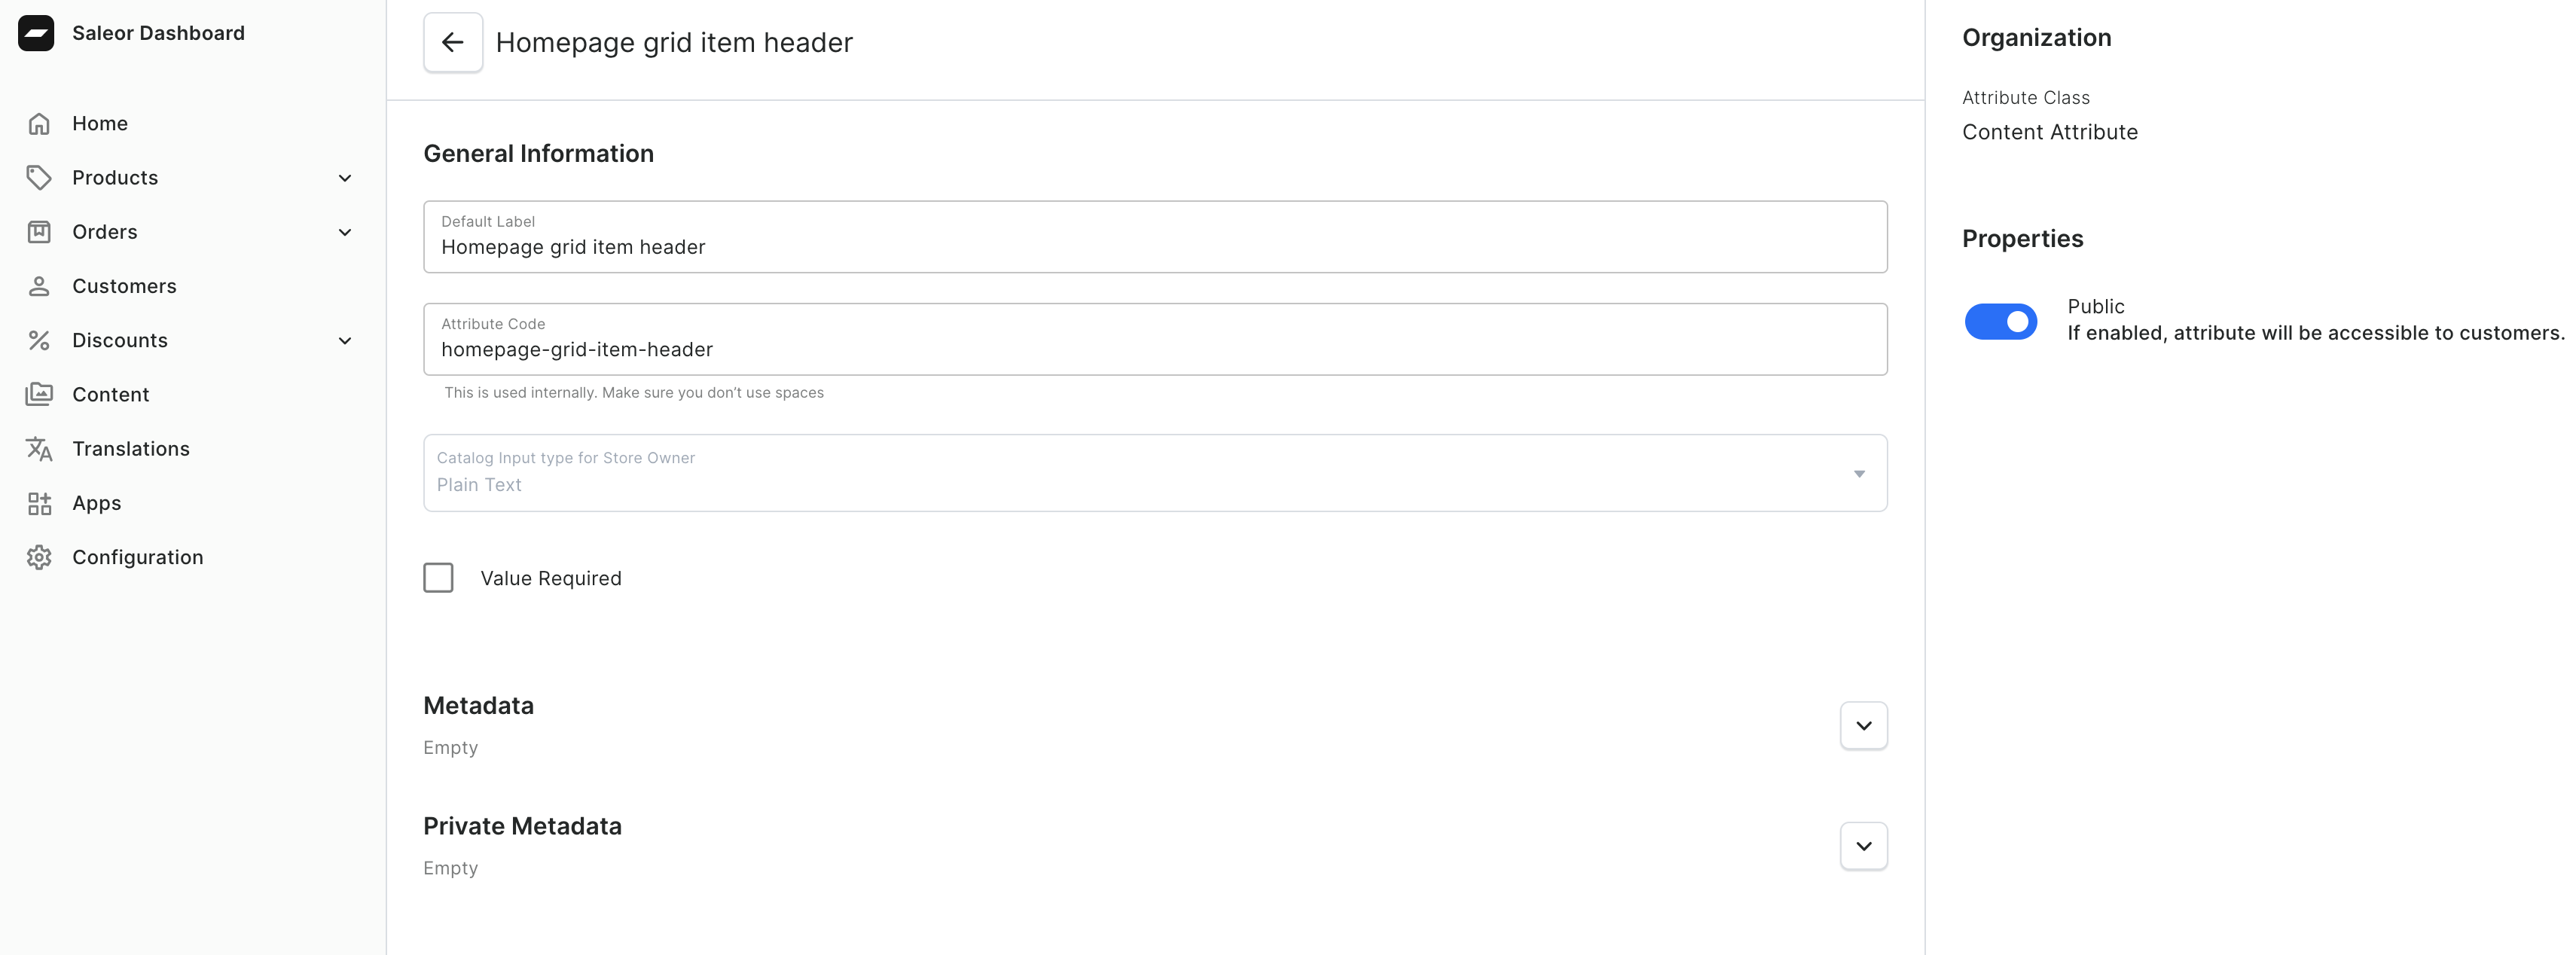
Homepage grid item header - display header on featured carousel's element:
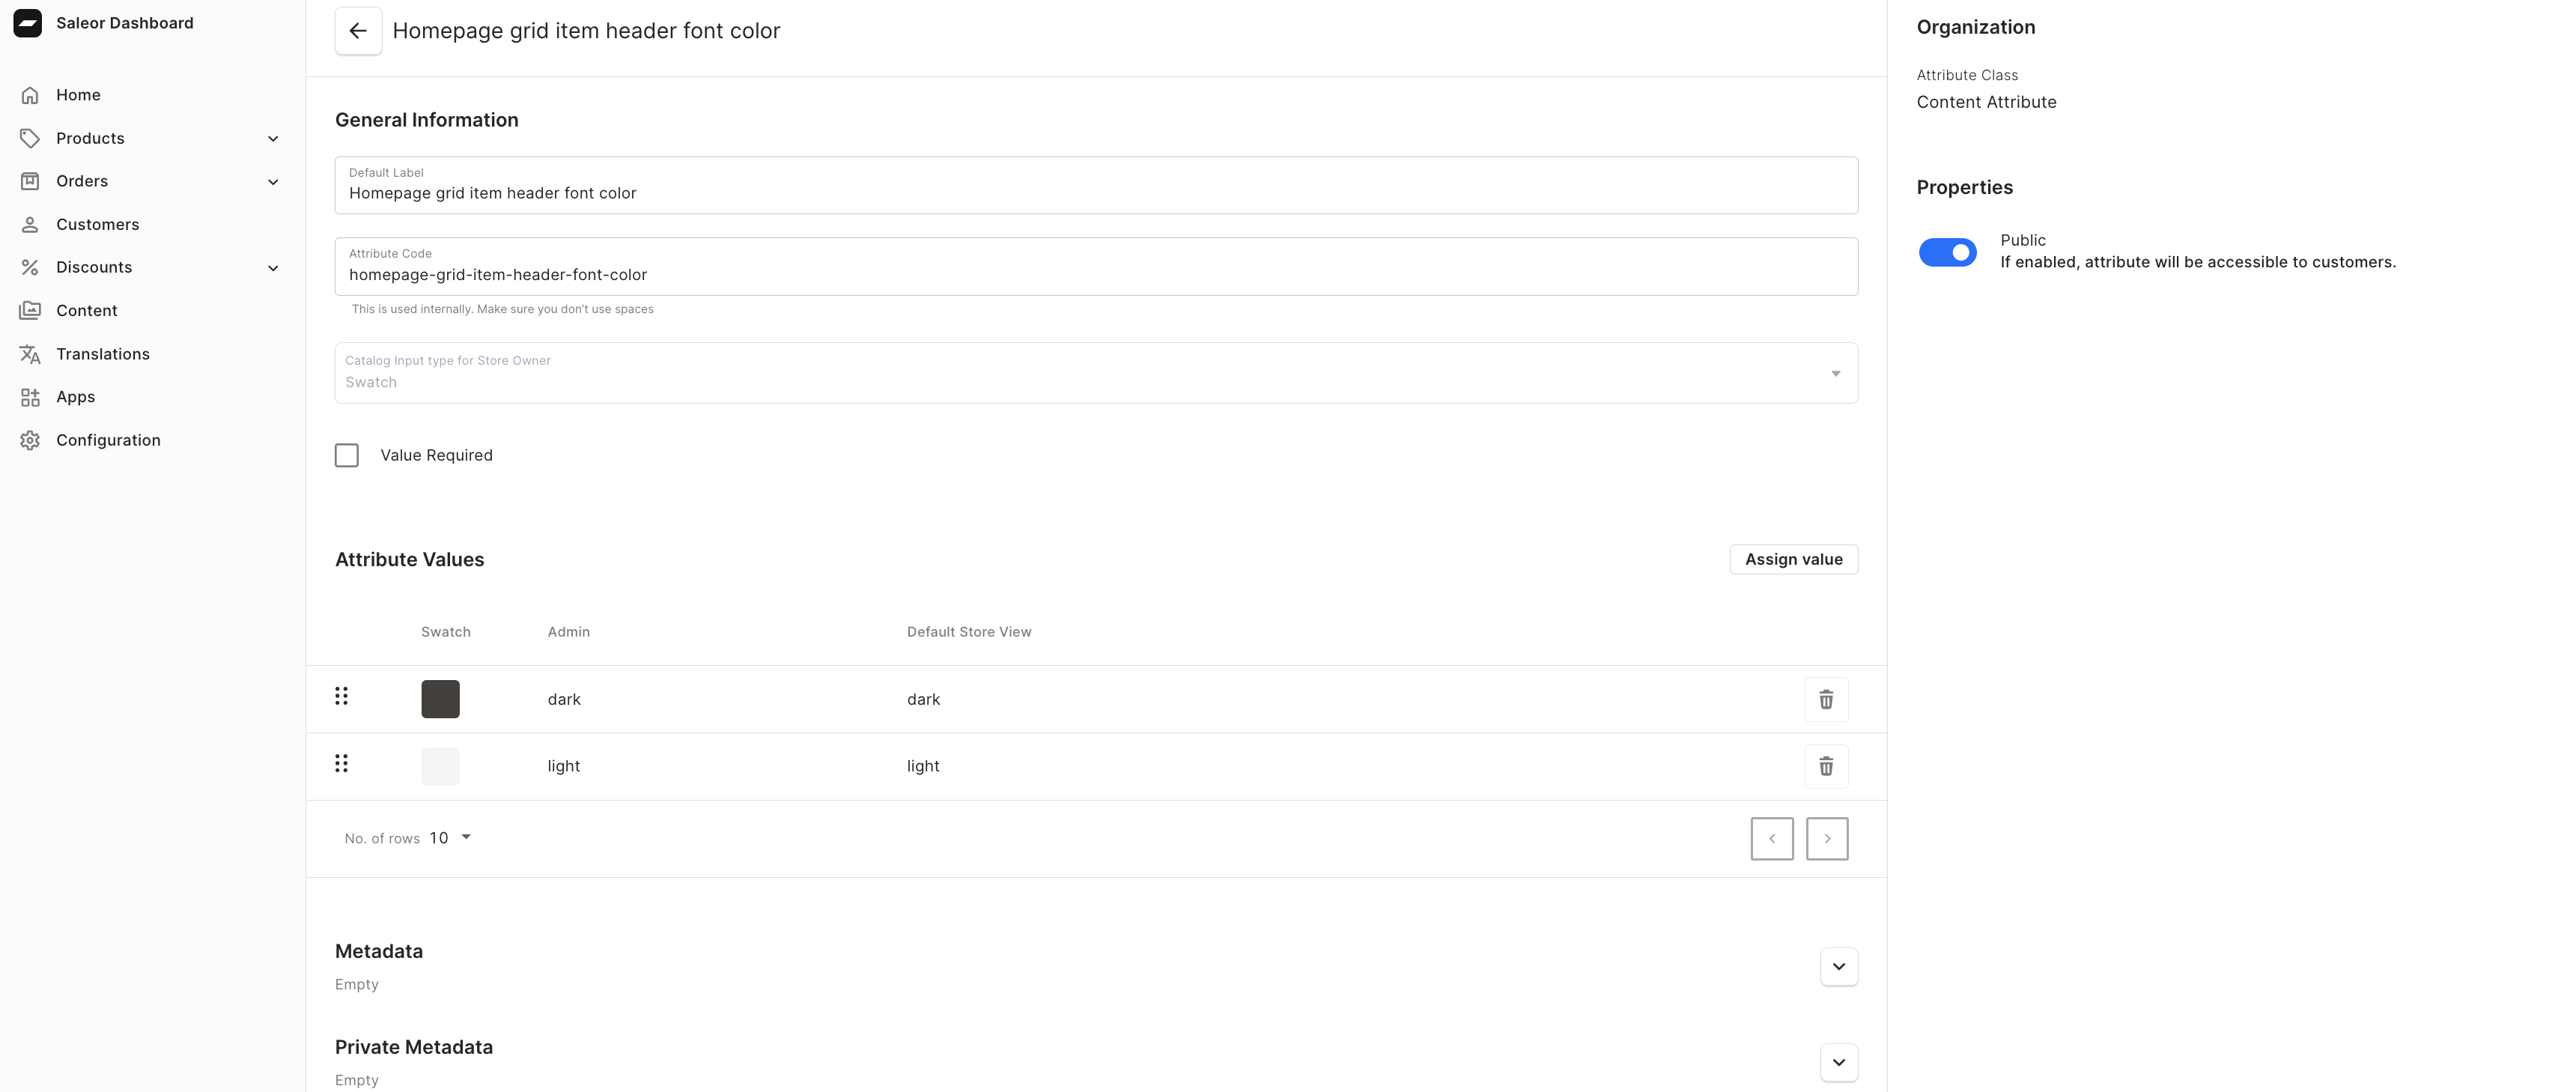
Homepage grid item header font color - set the font color of the header on featured carousel's element:
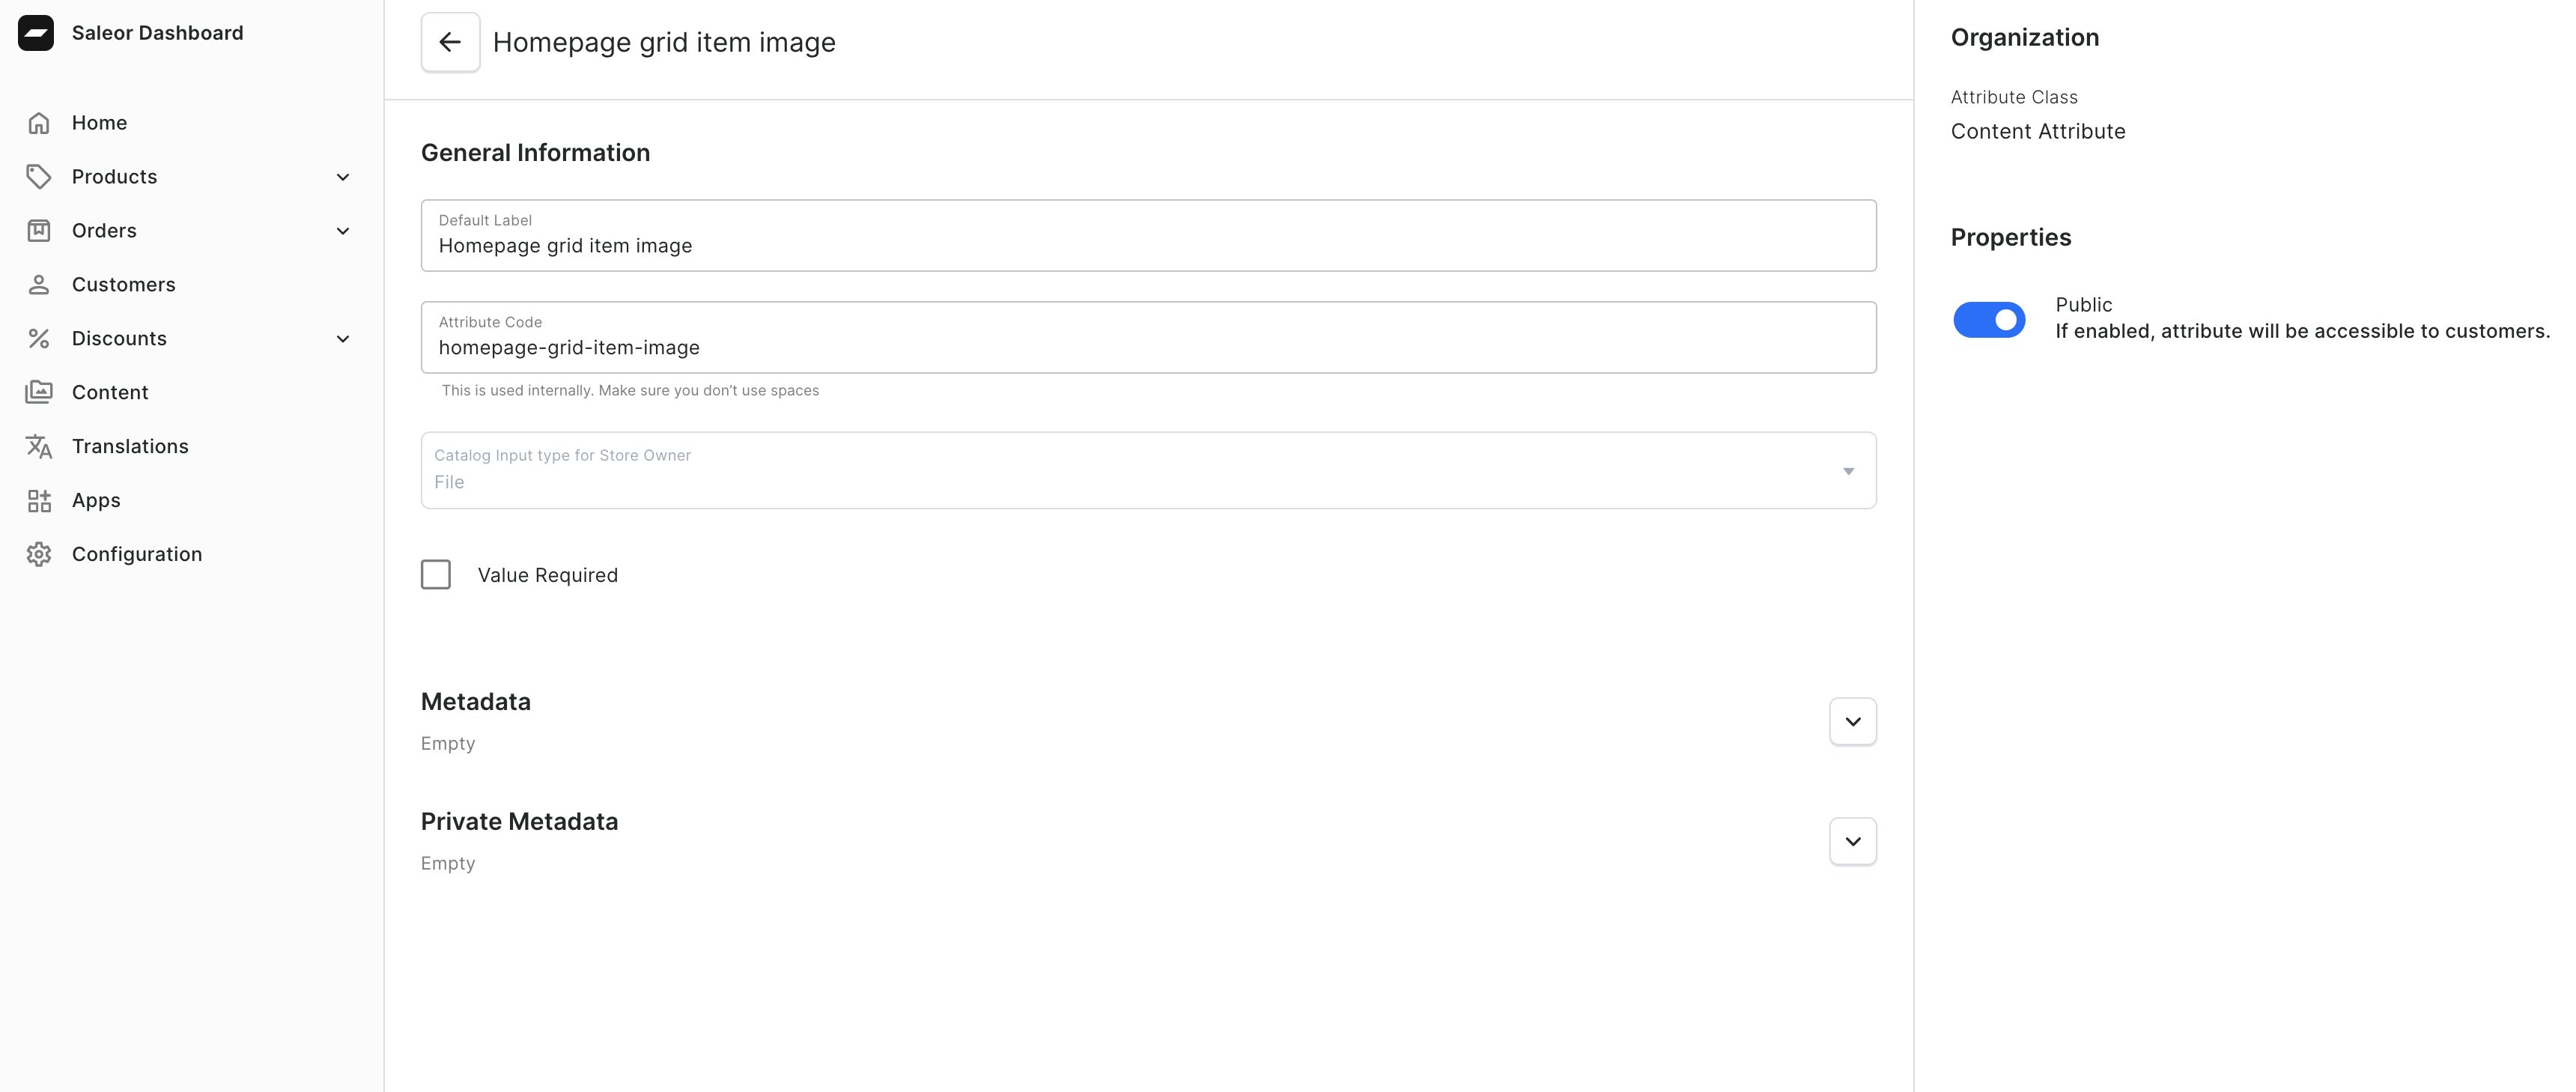
Homepage grid item image - display the background image of the featured carousel's element:
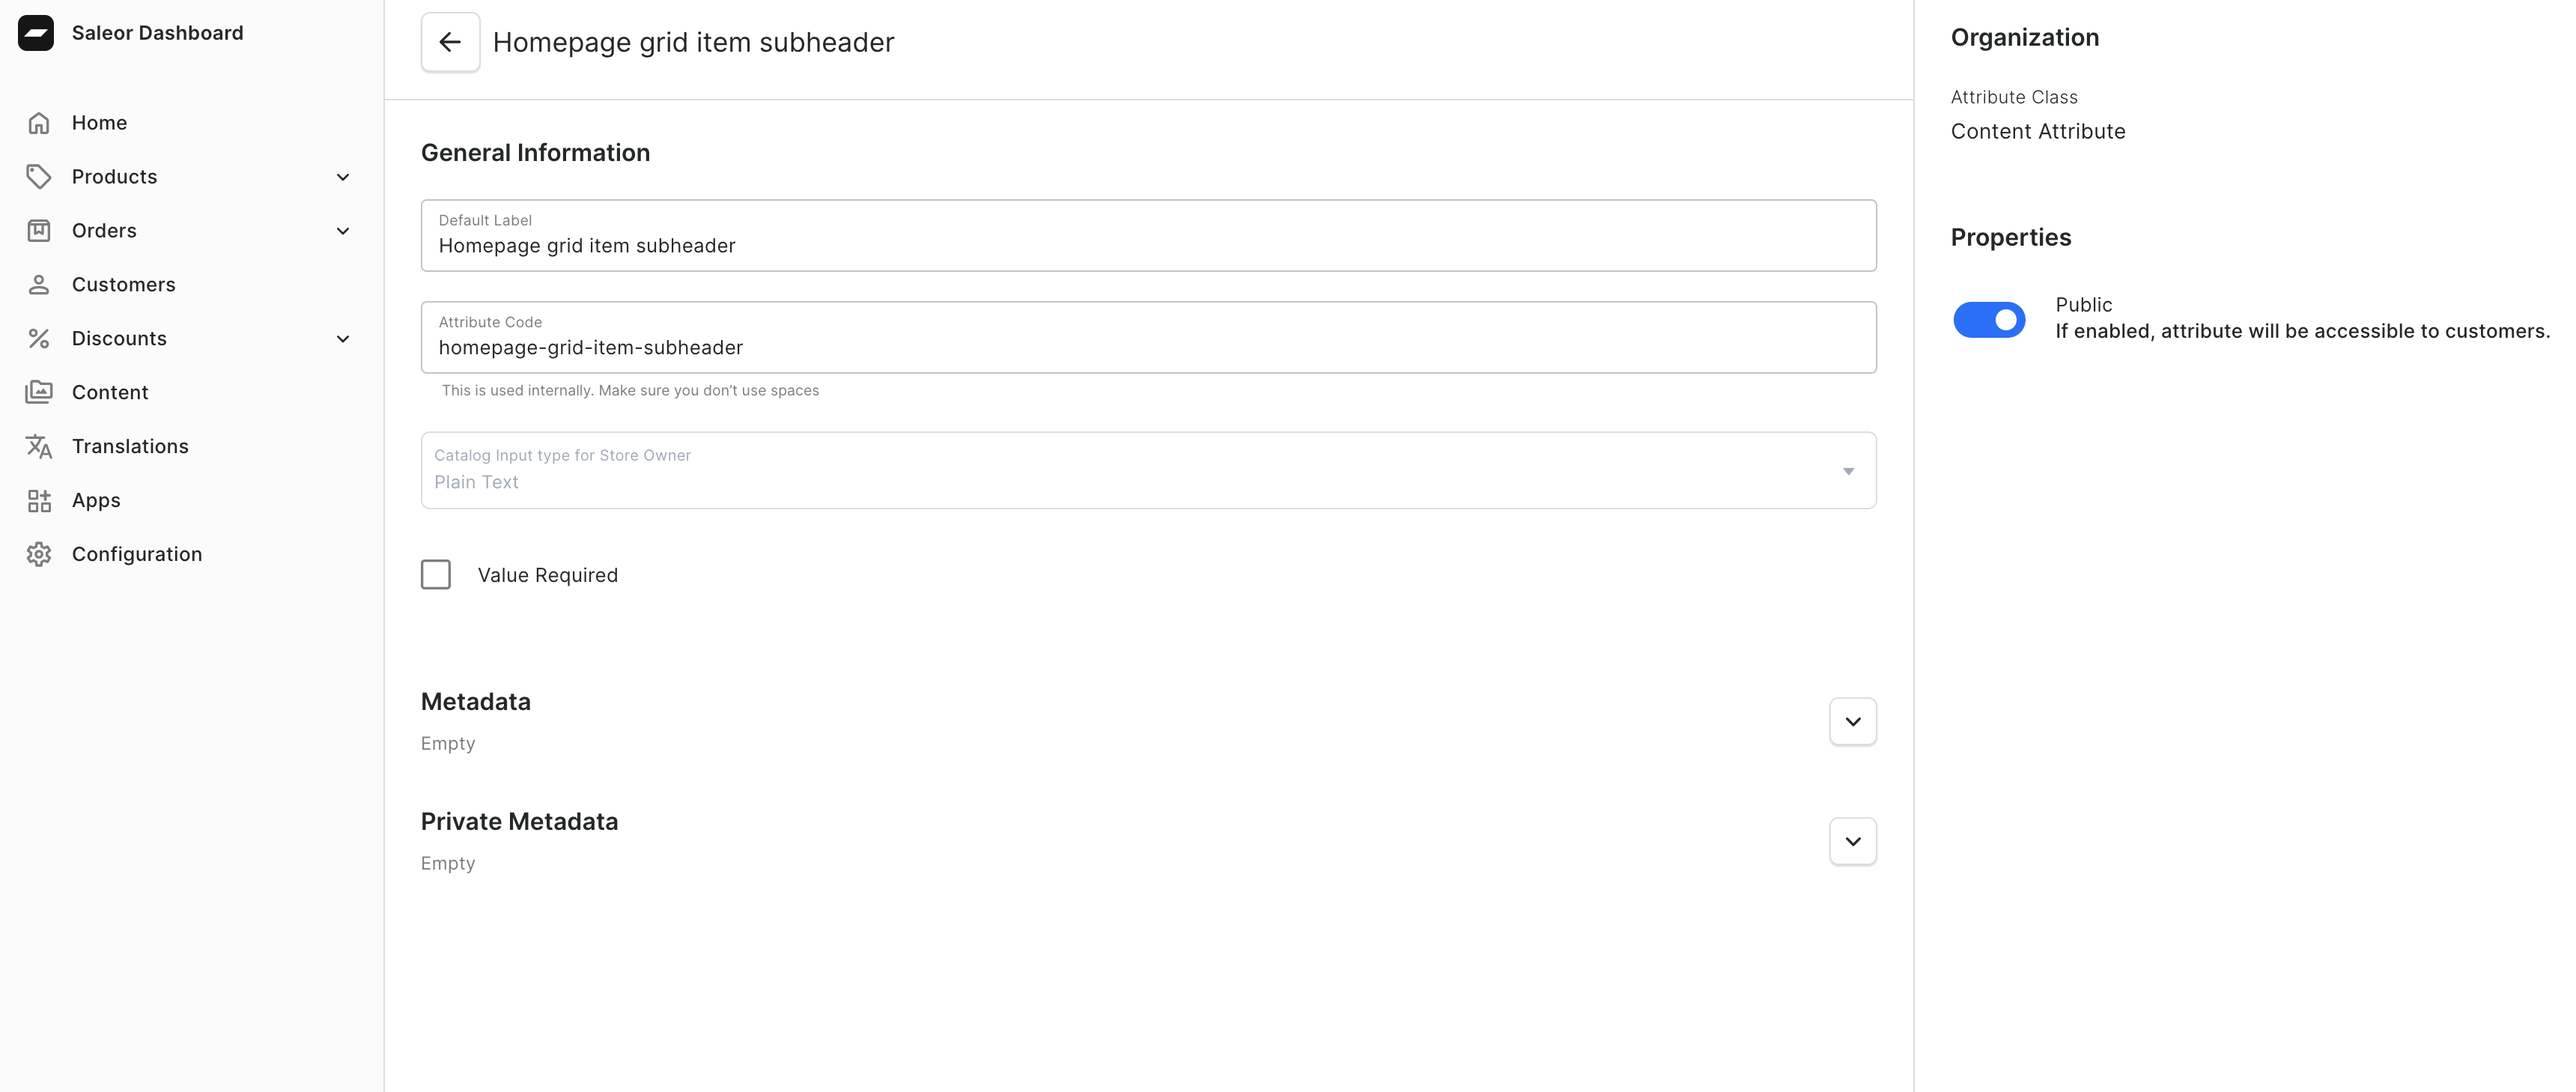
Homepage grid item subheader - display subheader on featured carousel's element:
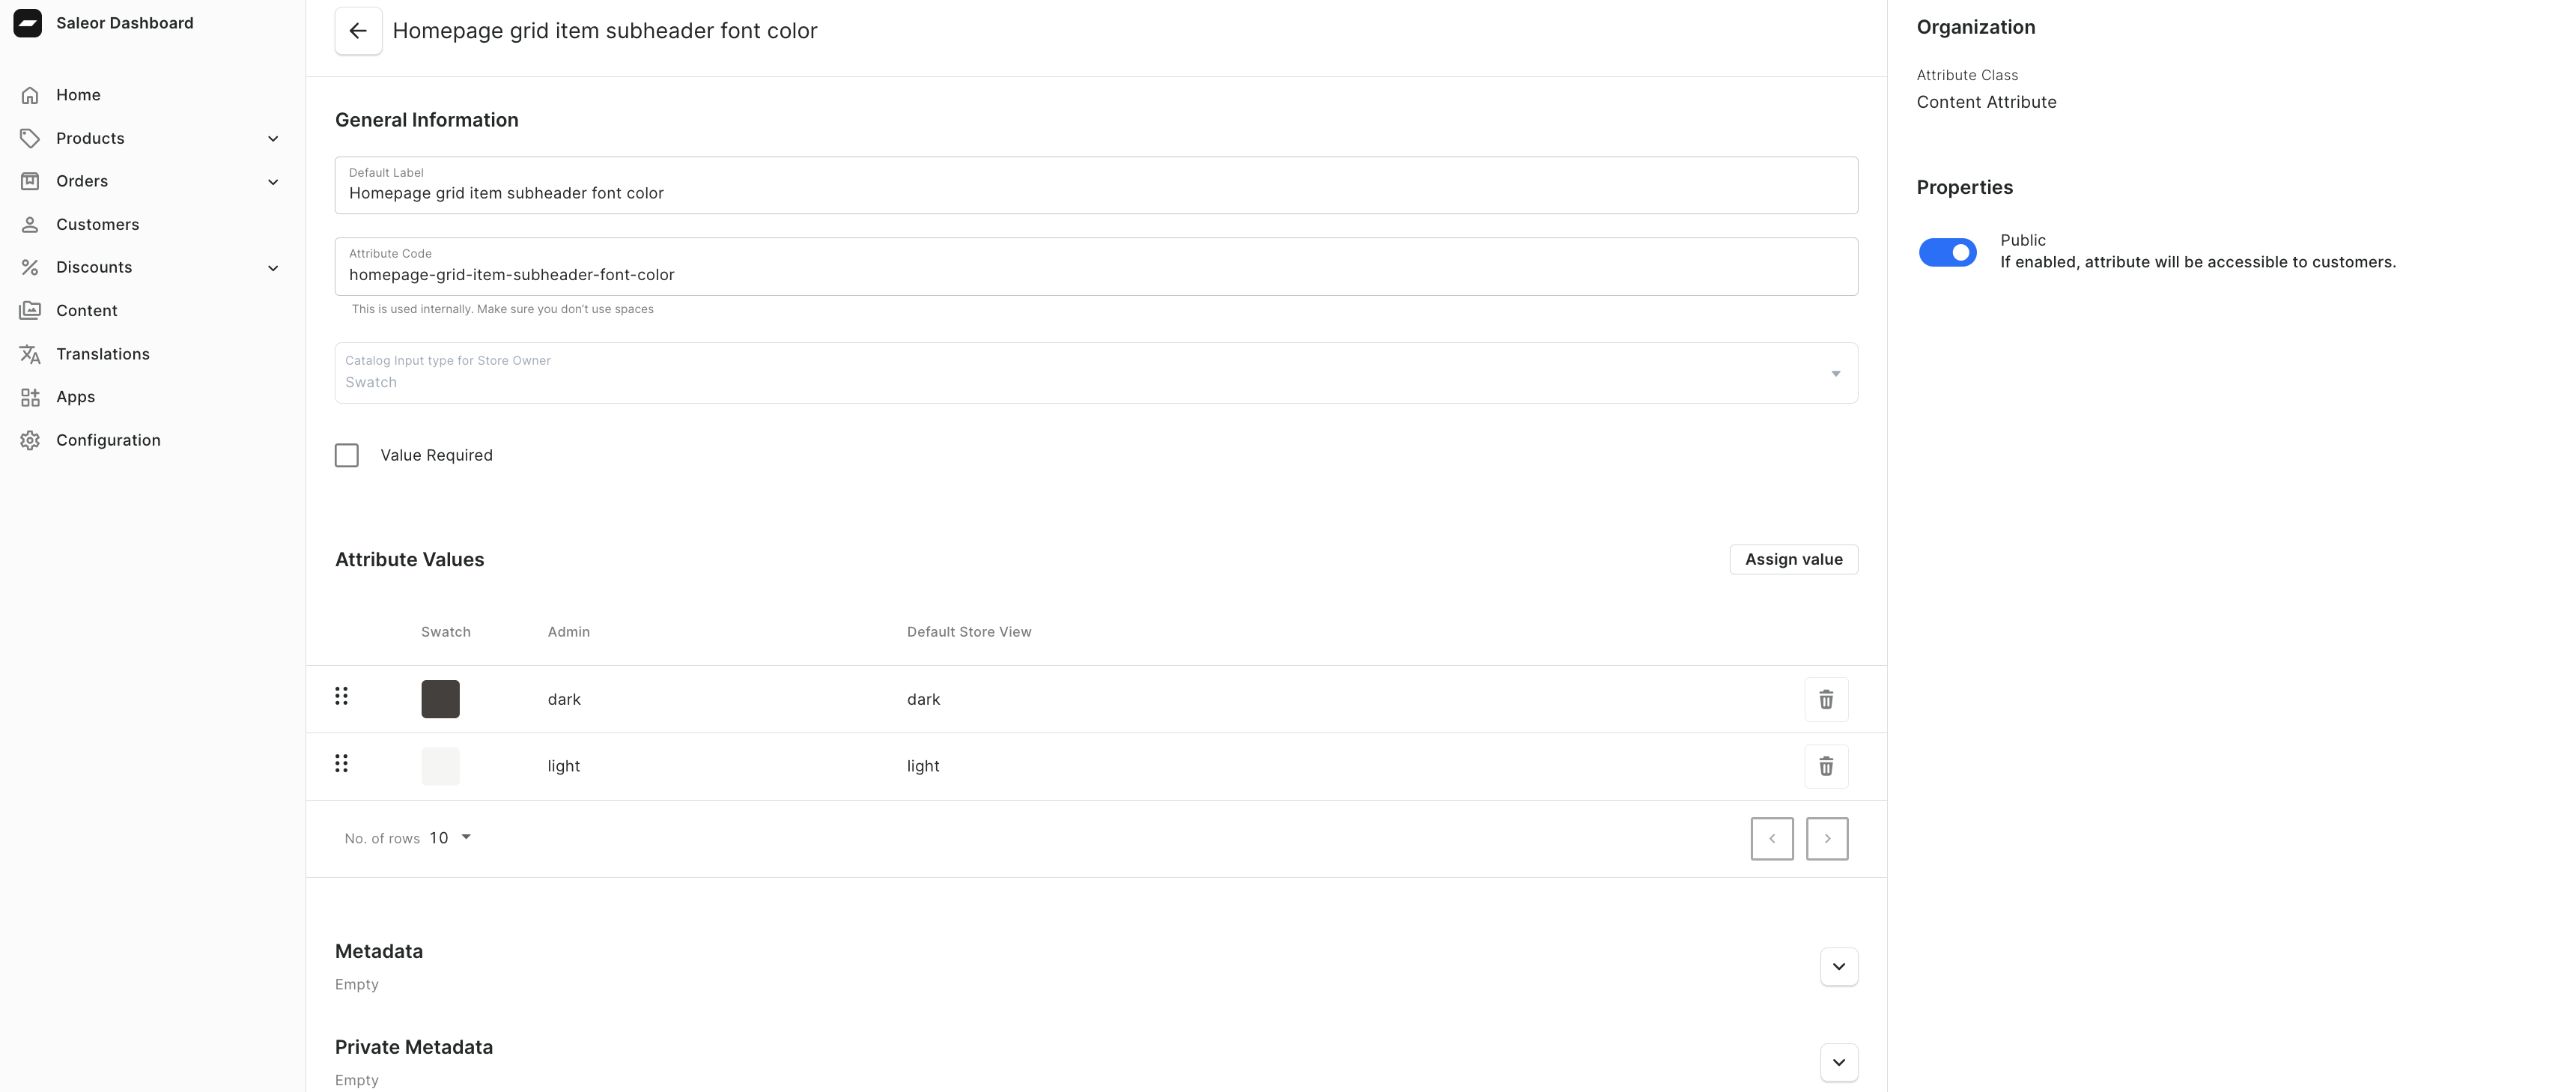
Homepage grid item subheader font color - set the font color of subheader on featured carousel's element:
Create Homepage Model Type
To set up the homepage, you need to create a Model Type and assign appropriate attributes.
Navigate to Model Types
Go to Saleor dashboard → Configuration → Model Types.
Create new Model Type
Click on Create model type.
Enter the name Homepage for Content Type Name and click Save.
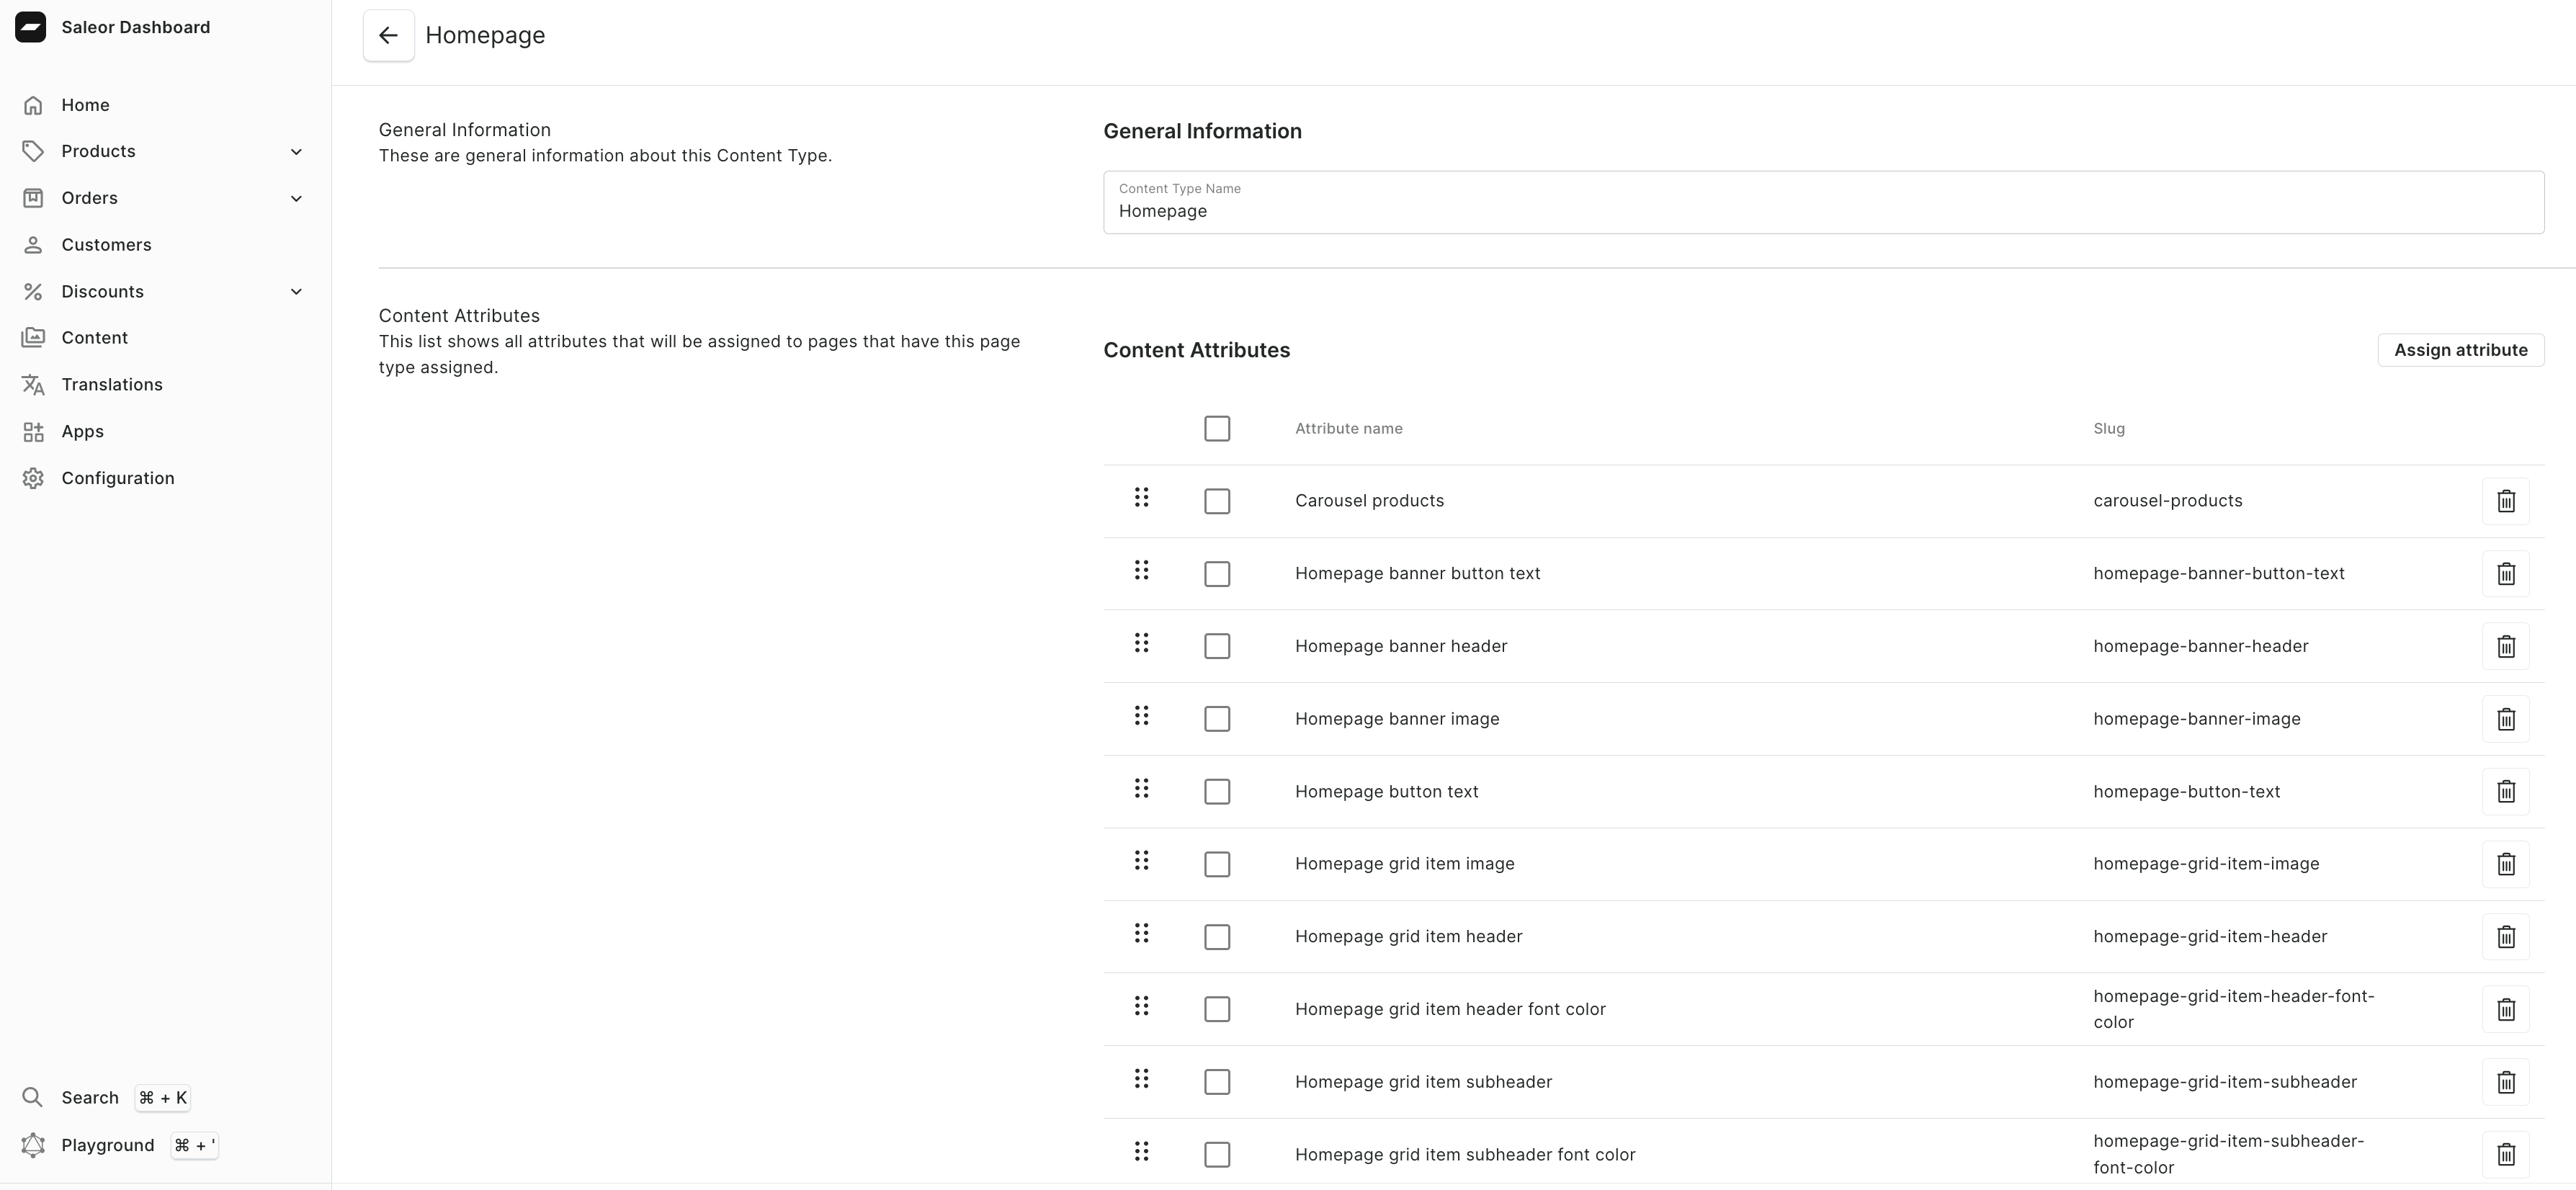
Assign attributes
Assign all required attributes to Homepage model Type:
Create an actual homepage
Once Homepage Model Type is set up, you can create the actual homepage content by following these steps:
Navigate to Content management
Go to Saleor dashboard → Modeling and click Models.
Select Model Type
In the dropdown, select Homepage.
This ensures that attributes assigned to Homepage Model Type are available for editing.
Fill in attributes
Fill in all the required attribute values for your homepage content.
Configure navigation & footer
Navigate to Navigation management
Go to Saleor dashboard → Configuration → Miscellaneous and select Navigation.
Create Menu for navigation and footer
Click Create menu to open the menu creation form.
For the main navigation, name the menu navbar. This menu will manage links displayed in your website's header navigation.
For the footer, create another menu and name it footer. This menu will handle links displayed in the footer section of your website.

Create Menu items
Select the menu you want to edit and click Create new item to open the menu item creation form.
Menu items can link to various resources:
- Category
- Collection
- Static Page - link to a page created in the Content section
- URL - URL to an external website or link to an internal page within your storefront
Configure Static Page
A static page in Saleor is used for standalone content, such as "About Us" or "Contact" pages. Unlike the Homepage page type, Static Page does not require attributes.
Navigate to Content Management
Go to Saleor dashboard → Configuration → Content Management and select Page Types.
Create new Page Type
Click on Create page type.
Enter the name Static page for Content Type Name and click Save.
Enter page details
- Title - provide a title for the page (e.g., "About Us").
- Slug - specify the slug for the page, this will determine its URL (e.g.,
/about-us). - Content - use the rich text editor to add your content (e.g., text paragraphs, headings, bullet points or numbered lists, images, hyperlinks).
Create an actual static page
Creating an actual static page follows the same steps as creating a homepage:
Go to Saleor dashboard → Content → click Create content → select Static page as the page type → fill in the details → click Save.